Search Knowledge Base by Keyword
Using and Configuring Teams and Zoom
Here is a link to a document containing this article.
Video of Setting Up Zoom In Teams
Here are the steps to create and invite people to a Teams meeting
Step 1.
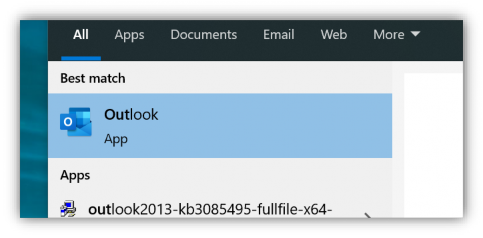
Either open the Outlook App on your computer
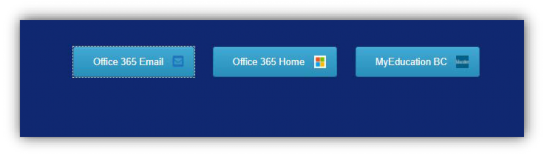
Or Open Office 365 Email link on the District website
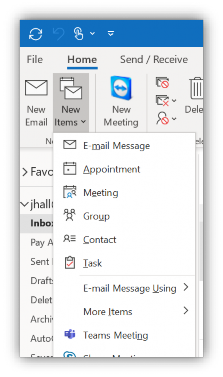
Step 2. (Outlook App)
Next, select “New Items” and Select “Teams Meeting”
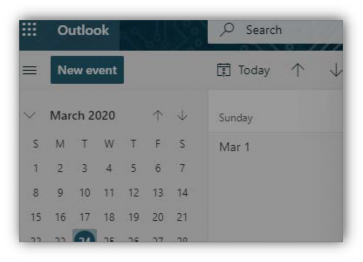
(Office 365)
Next, select the Calendar Icon on the bottom left of the page.

Then click on ”New event” at the top left of the page.
Step 3. (Outlook App)
-Fill in the Title
-The people or groups you’d like to invite in the Required field
-The date and time of the meeting
-And put in any important details about the meeting in the body of the email Then Send it off

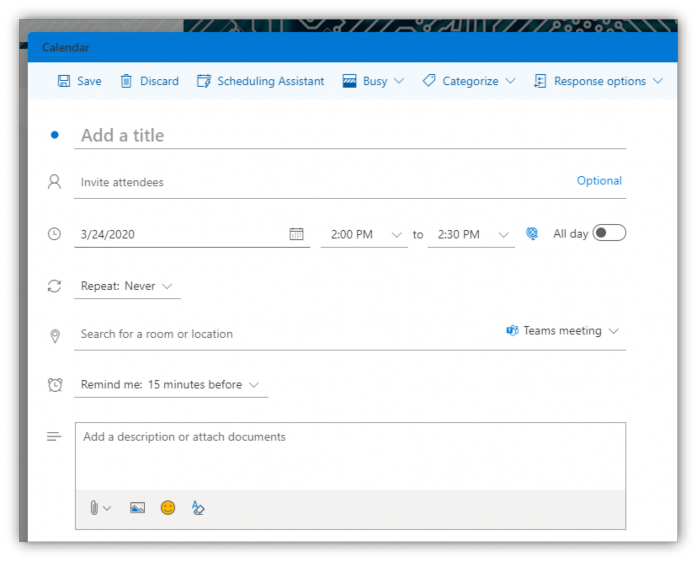
(Office 365)
** Make sure to set the location as: Teams meeting **
-Fill in the Title
-The people or groups you’d like to invite in the Required field
-The date and time of the meeting
-And put in any important details about the meeting in the description Then Send it off
Steps to join a Teams Meeting
Step 1.

You Should have received an email with something like the below. Click on Join Microsoft Teams Meeting
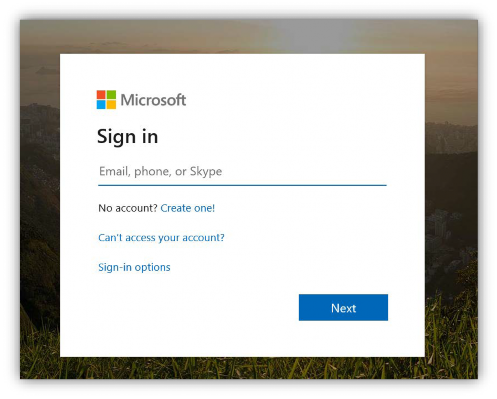
It should open a browser and it may ask you to sign in. If it does then sign in with your district email account.
Step 2.
After you’ve signed in. If it didn’t ask you to sign in, you should see the page below. It will give you the option to download the App or open join via the web.

Most district computers should have the Teams App installed so Teams might automatically open once you’ve reached this page.

If Teams doesn’t automatically open, click on Download the Windows app and run the installer.

From there Teams will install and automatically join you to the meeting. Just press “Join now” and you should be good to go.
Setup the Zoom plugin
Many people like to use Zoom for conferencing. Here are the steps to add, and sign in to, the Zoom plugin.
Step 1.
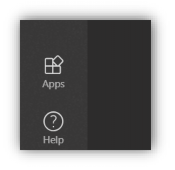
Launch the Teams app. Select the apps icon on the left sidebar
Step 2.
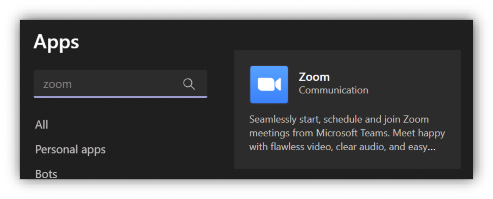
There is a column on the left side. Under “Apps, there is a “Search All” filed. Type “Zoom” into the search bar and click on the Zoom Tile
Step 3.
On the popup, select ”Add”
Step 4.
Now, down the left column, Zoom has been added. If you do not see it, click on the “…”, in my case the dots are under Files

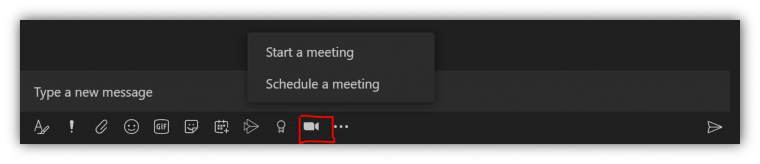
You can now see the zoom Icon in the chat window

Steps to log in to Zoom using Teams
Step 1.
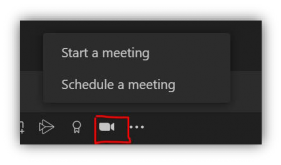
Press the Zoom icon on the bottom of the chat window. Select either “Start a meeting” or “Schedule a meeting”
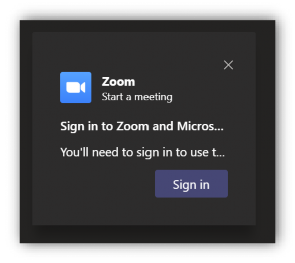
Step 2.
You will see a popup like the one below. Press Sign in.
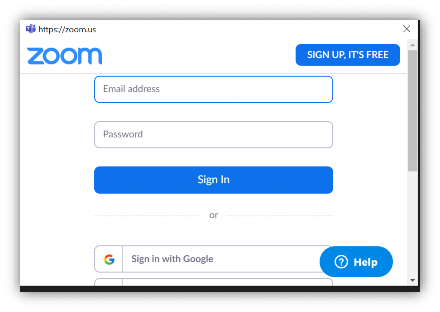
Step 3.
Next you will see and Zoom login page. Fill in with your Zoom account info. If you don’t have and account, you can either Press “The Sign Up, It’s Free” or you can create an account at https://zoom.us/
Step 4.
You will see another popup asking for access. Scroll down and select Pre-Approve then press Authorize.
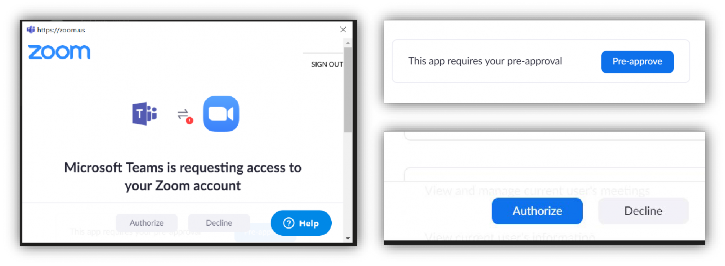
Step 5.
The next popup you will see if the Microsoft login, this is where you put in your district email and password.
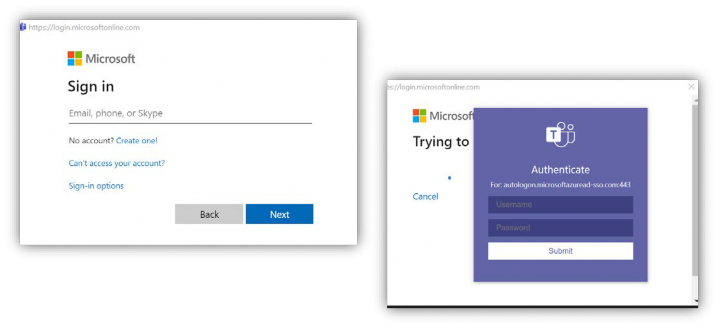
You may see another popup with another Username and Password field, you can simply enter in your district account info again.
Then that is it for the sign in process. You won’t have to sign into Zoom in Team again.
You can now schedule a zoom meeting within Teams.
Steps to Start or Schedule a Zoom meeting within Teams
Step 1.
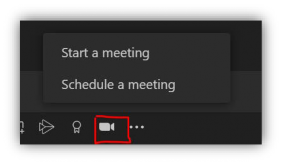
After you’ve completed the sign in process you can press either “Start a meeting” or “Schedule a meeting” from within a chat or team chat.
** Remember to press the Zoom button in the chat group or team that you’d like to invite.
Step 2.
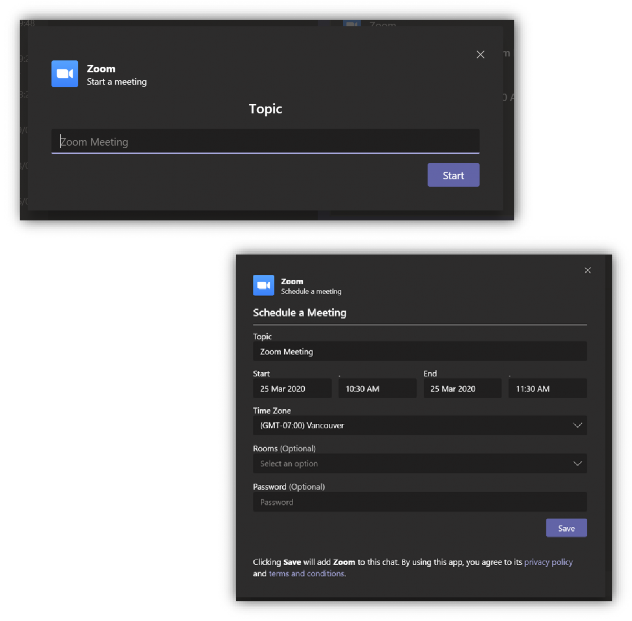
“Start a meeting” will have a popup window with a Topic field. Fill in this filed with the title of the meeting.
“Schedule a meeting” has a similar popup.
- Fill in the Topic.
- Set the date and start and end times.
- In most cases the default time zone is fine.
- There are also options to set a room and a password.
Step 3.
Next the meeting invite will be generated in your chat box. You can “Add more info here” if you would like to.

Step 4.
Next just send the chat message and any one in that chat group or team will be able to join. The scheduled meeting will be added to the calendar of anyone in the chat.
Steps to join a Zoom meeting
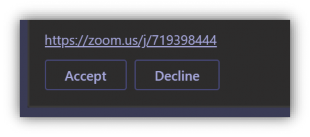
Step 1.
Press either ”Join Now”, or if it was a scheduled meeting, then press the zoom.us link

Step 2.
This should open a browser window, automatically download the Zoom app and open to what is shown below. From here select Join with Computer Audio and you should be in the meeting.
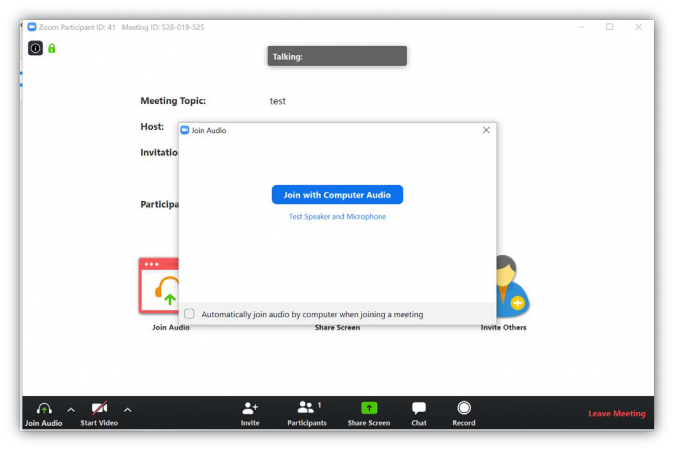
** If it was a scheduled meeting then the you may be in a lobby until the meeting starts.
Steps to changing video or audio sources in Teams
Once in a call you can change your audio or video options.
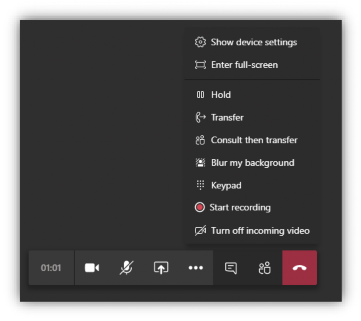
Step 1.
Move your mouse until you see the control bar show up then press the 3 dots.

Step 2.
Next a menu will popup. Select Show device settings.
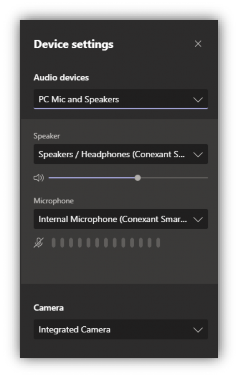
Step 3.
This should bring up a panel on the right. From here you can adjust:
-
-
The speakers to use
-
The microphone to use
-
The volume levels for both your speakers and microphone
-
The camera to use
-
Steps to changing video or audio sources in Zoom
Once in a call you can change your audio or video options.

Step 1.
To change the settings for audio To change the setting for video
select the arrow beside the Mute select the arrow beside the Start
button Video button
Step 2.
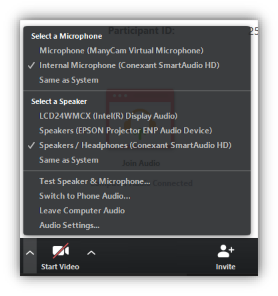
From the audio settings menu you can change the microphone or speakers
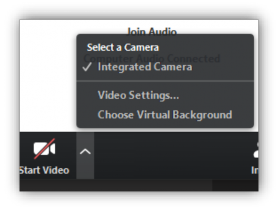
From the video settings menu you can select what camera to use.